Proxmark3 Easy MacOS Initialization on 10.13.3
Successfully getting a Proxmark3 Easy working on MacOS High Sierra can be confusing, but it doesn’t have to be. Here’s a quick list of steps to get going. This list does not cover potential issues that may arise due to different versions of MacOS, hardware issues, the weather, or a bug in your simulated reality.
- This project requires you to have Xcode installed. Meet that requirement before proceeding with the steps below.
- Install homebrew.
- Tap proxmark/proxmark3 repository from terminal:
“brew tap proxmark/proxmark3” - Install Proxmark3 from terminal:
“brew install proxmark3” - Install necessary components for Proxmark3 from terminal (enter each line seperately):
“brew tap nitsky/stm32”
“brew install readline libusb p7zip libusb-compat wget qt5 pkgconfig arm-none-eabi-gcc”
“export PKG_CONFIG_PATH=/usr/local/Cellar/qt5/<< INSTALLED VERSION >>/lib/pkgconfig/”
“export QT_PKG_CONFIG_QT5CORE=$(find /usr -name Qt5Core.pc 2>/dev/null)”
“chmod 666 $QT_PKG_CONFIG_QT5CORE”
“echo “moc_location=\${prefix}/bin/moc” >> $QT_PKG_CONFIG_QT5CORE”
“chmod 444 $QT_PKG_CONFIG_QT5CORE”
“brew link –force readline”
“git clone https://github.com/Proxmark/proxmark3.git” - Enter the correct directory:
“cd proxmark3” - Connect the Proxmark to your machine.
- Compile the bootrom from terminal:
“make clean; make” - Disconnect device from machine, then reconnect. Figure out the device name from terminal:
“ls /dev/cu*” - Your device will be named “/dev/cu.usbmodemXXXXX” where the X’s are unique to your configuration. Now update your CDC bootrom from terminal, and be sure to replace the X’s with your device name. For example, my device name is FA131, so I’ll use that:
“./client/flasher /dev/cu.usbmodemFA131 -b bootrom/obj/bootrom.elf”
“./client/flasher /dev/cu.usbmodemFA131 armsrc/obj/fullimage.elf” - Disconnect the device from your machine. Reconnect the device to your machine.
- Again, check your device name from terminal:
“ls /dev/cu*” - Run the proxmark client (again, I am using my device name, FA131):
“cd client”
“./proxmark3 /dev/cu.usbmodemFA131”
To quit the proxmark program use “quit”
To start the proxmark program from a fresh terminal use “cd proxmark3/client && ./proxmark3 /dev/cu.usbmodemFA131”
To clone an Indala transponder within the proxmark program:
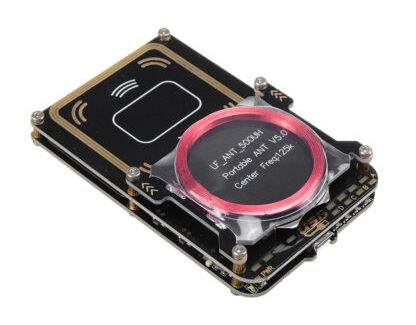
- Place transponder on LF antenna.
- Issue “lf search”
- If successful, then issue “lf indala demod”
- If successful, then note the UID listed in parenthesis (let’s assume it is a0000000a0a0aa00)
- Place the transponder you are cloning to on the LF antenna and ensure you have good coupling (you can issue “lf search” then “lf indala demod”, and if both are successful you have decent coupling).
- Then issue “lf indala clone a0000000a0a0aa00”
You are done.